Table of Contents
Best ingrown hair removal requires sterile 18-22 gauge needles and sharp tweezers.
Clean hands and tools with 70% isopropyl alcohol first.
Apply warm compress for three minutes to soften skin.
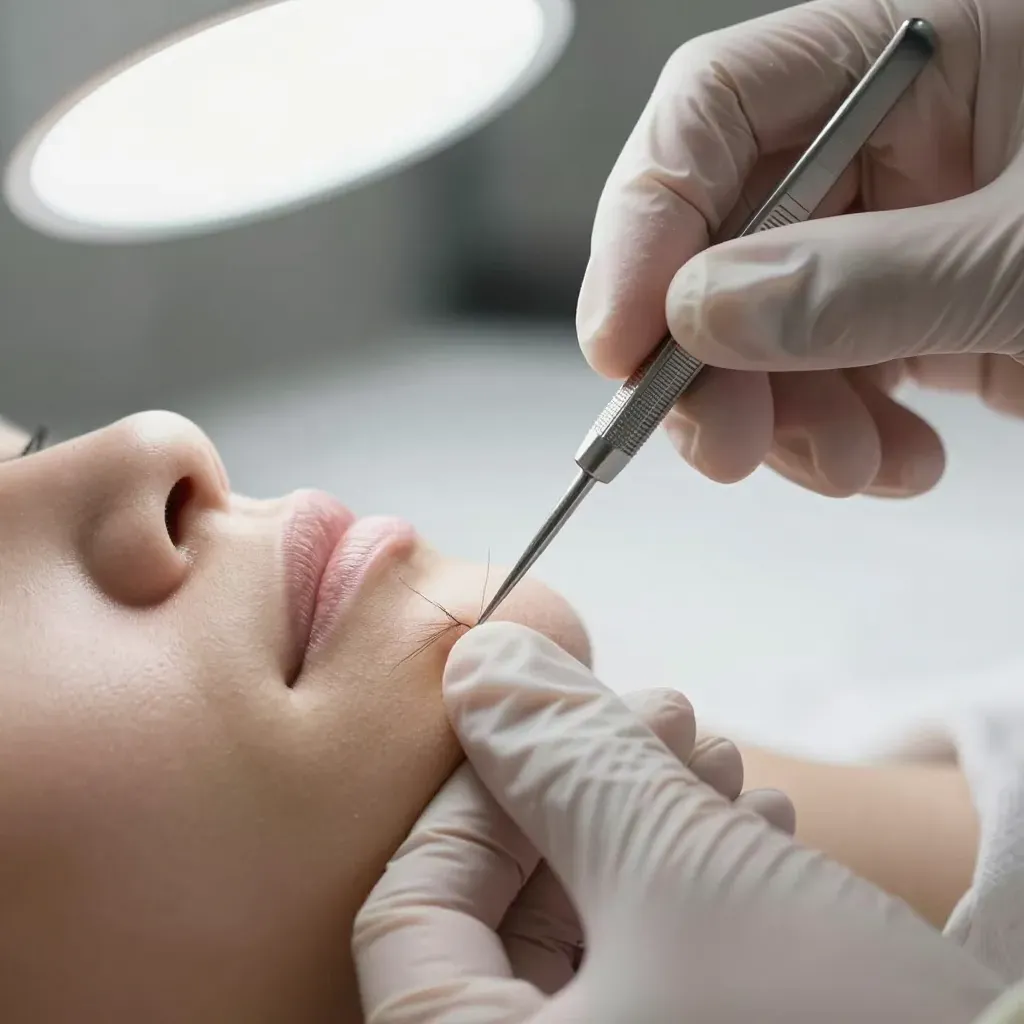
Gently lift hair loop with needle at 15-degree angle.
Pull hair in natural growth direction only.
Never dig deeper than follicle or squeeze bump.
Apply antibiotic ointment immediately after extraction.
Use hydrocolloid patch overnight to prevent scarring.
Start silicone gel on day four for healing.
Watch for infection signs like pus swelling or worsening pain.
See dermatologist if pain exceeds mild discomfort or same spot recurs monthly.
Prevent future ingrowns with daily salicylic acid exfoliation and single-blade razor shaving with grain.
Laser hair removal offers lowest recurrence risk at 5%.
People with diabetes or immunosuppression must seek professional treatment only.
Question | Answer |
|---|---|
What tools are essential for safe removal? | Sterile 18-22 gauge needles sharp pointed tweezers and 10x magnification. |
How do I sterilize equipment properly? | Swab everything with 70% isopropyl alcohol and wait 30 seconds. |
What is the correct extraction technique? | Apply warm compress for three minutes lift hair loop at 15-degree angle pull in growth direction. |
When should I see a doctor? | Seek care for pus worsening pain after 48 hours or same-spot recurrences twice monthly. |
How can I prevent future ingrowns? | Use daily 2% salicylic acid exfoliation and single-blade razor shaving with grain. |
Best ingrown hair removal videos demonstrate safe extraction techniques
What quality tutorials actually show
Best videos start with clean hands and sterilized tools.
Professionals use 70% isopropyl alcohol on all equipment.
Camera zooms in on the exact ingrown location.
Good lighting eliminates shadows for clear viewing.
Technique matters more than speed.
Top creators explain each step verbally while demonstrating.
Step-by-step process in top videos
Apply warm compress for three minutes minimum.
Disinfect skin surface thoroughly.
Use sterile needle to expose hair tip only.
Lift hair gently using needle edge or tweezers.
Never dig deeper than the hair follicle.
Pull hair in its natural growth direction.
Apply antibiotic ointment immediately after.
Red flags that signal dangerous content
Videos showing blood pooling indicate improper technique.
Avoid tutorials where tools touch unsanitary surfaces.
Skip content with excessive squeezing or popping.
Never follow advice using fingernails or teeth.
Creators without medical credentials often miss key safety steps.
Tool checklist from expert demonstrations
- Sterile hypodermic needle 18-22 gauge
- Sharp pointed tweezers with alignment
- 10x magnifying mirror or lens
- Alcohol prep pads (individual packets)
- Non-comedogenic healing ointment
- Cotton swabs for precise application
Video quality markers that matter
Professional videos feature | Amateur videos lack |
|---|---|
Steady camera with macro lens | Shaky handheld footage |
Medical-grade tool sterilization | Wiping tools on clothing |
Voiceover explaining anatomy | Music drowning audio |
Clear aftercare instructions | Ending without guidance |
Warnings about infection signs | No risk discussion |
When to stop watching and seek help
If pain exceeds mild discomfort, stop the procedure.
Bleeding means you went too deep.
Swelling or pus indicates infection.
Best videos tell you when to see a dermatologist.
Professional extraction prevents scarring and hyperpigmentation.
Dermatologist-approved methods prevent skin damage and scarring
Pre-extraction skin prep
Scrub hands like a surgeon.
Wash area with benzoyl peroxide cleanser.
Pat dry using sterile gauze only.
Apply warm compress for five minutes.
Swab with 70% isopropyl alcohol.
Wait 30 seconds for complete evaporation.
Damage-free extraction technique
Hold needle at 15-degree angle.
Slide tip under hair loop only.
Lift upward with gentle wrist motion.
Never dig deeper into follicle.
Grasp hair tip with tweezers.
Pull in natural growth direction.
Limit attempts to three per follicle.
Wait 24 hours if unsuccessful.
Post-extraction scar prevention
Apply bacitracin zinc ointment thinly.
Cover with hydrocolloid patch overnight.
Remove patch gently without pulling skin.
Keep area dry for 12 hours minimum.
Avoid friction and makeup completely.
Reapply ointment twice daily for three days.
Start silicone gel on day four.
Dermatologist-approved vs harmful products
Use these | Avoid these |
|---|---|
Petroleum jelly | Tea tree oil (undiluted) |
Hydrocolloid patches | Alcohol-based toners |
Silicone gel sheets | Retinoids on broken skin |
Non-comedogenic moisturizers | Fragranced lotions |
Bacitracin ointment | Exfoliating acids |
Medical-grade honey | Hydrogen peroxide |
Scar warning signs
- Dark spots lasting over 14 days
- Raised keloid formation
- Skin depression or pitting
- Persistent redness
- Pain increasing after 48 hours
- Pus or yellow crust formation
Stop treatment immediately.
Take daily photos to track changes.
Schedule dermatologist appointment within one week.
Early steroid injections prevent permanent marks.
Essential tools for removal appear in top tutorials
Core extraction tools professionals use
18-22 gauge hypodermic needles top every list.
Sharp pointed tweezers beat slanted tips for precision.
Needle must be sterile single-use or autoclaved.
Tweezers need perfect alignment at tips.
Magnification matters more than you think.
10x loupe or mirror prevents guesswork.
LED ring light eliminates shadows.
Disposable gloves prevent bacterial transfer.
Sterilization equipment non-negotiable
70% isopropyl alcohol kills bacteria effectively.
Higher percentages evaporate too fast.
Individual alcohol prep pads stay sterile.
Autoclave bags for reusable tools only.
UV sterilizers work but slower than alcohol.
Never use boiling water alone.
Boiling doesn't kill all bacteria.
Steam sterilizers need 15+ minutes at 121°C.
Skin prep and aftercare toolkit
- Benzoyl peroxide cleanser opens pores
- Sterile gauze pads prevent contamination
- Hydrocolloid patches protect overnight
- Bacitracin zinc ointment speeds healing
- Silicone gel sheets start on day four
- Non-comedogenic moisturizer maintains barrier
- Ice packs reduce immediate swelling
- Salicylic acid toner prevents future ingrowns
Tool quality comparison
Feature | Professional grade | Drugstore version | Risk |
|---|---|---|---|
Material | Medical stainless steel | Coated alloy metal | High |
Tip alignment | Perfect alignment | Gapped tips | Medium |
Sterility | Single-use sterile packaging | Loose in drawer | Very high |
Durability | Autoclave compatible | Melts under heat | Medium |
Precision | 0.01mm tip sharpness | Blunt tips | High |
What cheap tools get wrong
Dull needles tear skin instead of lifting hair.
Misaligned tweezers break hairs below surface.
Coated metals flake off causing irritation.
Non-sterile packaging introduces bacteria.
Weak magnets in cheap loupes distort vision.
Plastic tweezers bend and lose grip.
Imitation stainless steel rusts after one use.
Fake reviews hide quality issues.
Where to buy professional tools
Medical supply stores sell single needles.
Beauty suppliers stock quality tweezers.
Amazon's medical section works if verified.
Avoid eBay unbranded bulk packs.
Cost per tool under $2 indicates poor quality.
Good tweezers cost $15-40.
Professional kits run $50-150.
Check for FDA registration numbers.
Expert prevention tips stop future ingrown hairs from forming
Exfoliation schedule that actually works
Exfoliate daily with salicylic acid 2%.
Use glycolic acid toner every other night.
Physical scrubs work twice weekly maximum.
Apply chemical exfoliant to dry skin.
Wait 30 seconds before moisturizing.
Stop exfoliation 24 hours before hair removal.
Shaving technique dermatologists recommend
Shave in shower after three minutes.
Use single-blade safety razor.
Apply shaving cream thickly.
Shave with grain only.
Never pull skin taut.
Rinse blade after every stroke.
Maximum two passes per area.
Replace blade every 3-5 shaves.
Alternative hair removal methods ranked
Method | Ingrown risk | Expert rating |
|---|---|---|
Laser hair removal | 5% | 9/10 |
Electrolysis | 3% | 9/10 |
Depilatory creams | 15% | 6/10 |
Waxing | 25% | 5/10 |
Sugaring | 20% | 6/10 |
Shaving | 40% | 3/10 |
Daily skin care routine that prevents ingrowns
- Morning: Salicylic acid cleanser
- Day: Non-comedogenic moisturizer
- Evening: Retinoid cream (0.025%)
- Night: Hydrocolloid patches on problem spots
- Weekly: Clay mask for oily areas
Products that actually prevent ingrowns
Benzoyl peroxide 5% wash kills bacteria.
Salicylic acid 2% solution unclogs pores.
Glycolic acid 10% pads exfoliate gently.
Retinoids increase cell turnover.
Tea tree oil must be diluted 1:10.
Undiluted tea tree oil causes burns.
Common mistakes that guarantee ingrowns
Tight clothing creates friction.
Skipping moisturizer dries skin.
Over-exfoliating damages barrier.
Using dull blades tears hair.
Shaving against grain cuts hair too short.
Touching area transfers bacteria.
Picking at bumps spreads infection.
When prevention fails
Apply warm compress immediately.
Use spot treatment with sulfur.
Do not squeeze or pick.
Cover with hydrocolloid patch.
If no improvement in 48 hours, see professional.
Warning signs indicate you need professional medical treatment
Infection warning signs that demand immediate care
Pus or yellow discharge means bacterial infection.
Red streaks spreading from bump indicate cellulitis.
Fever over 100.4°F requires emergency treatment.
Pain worsening after 48 hours signals deeper infection.
Swelling doubling in size overnight needs antibiotics.
When home removal causes more damage
Deep pits or scabs that won't heal.
Dark spots lasting longer than three weeks.
Keloid formation in prone individuals.
Hyperpigmentation spreading beyond original bump.
Atrophic scars creating permanent depressions.
Recurring ingrowns signal underlying issues
Frequency | Action required |
|---|---|
Same spot twice monthly | Dermatologist evaluation |
Multiple ingrowns weekly | Hormone testing |
Ingrowns plus acne | Prescription retinoids |
Family history of keloids | Professional removal only |
Medical conditions that complicate removal
- Diabetes slows healing and increases infection risk
- Immunosuppression allows bacteria to spread
- Blood thinners cause excessive bleeding
- Pregnancy changes skin sensitivity
- Eczema creates barrier dysfunction
Professional treatments that work
Corticosteroid injections reduce inflammation within 24 hours.
Incision and drainage for abscesses over 5mm.
Laser hair removal prevents recurrence permanently.
Prescription retinoids normalize skin cell turnover.
Antibiotic ointments stronger than OTC versions.
Cost vs risk of waiting
Dermatologist visit costs $100-300.
ER visit for infection costs $1,000+.
Scar revision surgery costs $500-2,000.
Early treatment prevents all these expenses.
Insurance covers medically necessary removal.
How to find the right specialist
Search for board-certified dermatologists.
Check reviews specifically for ingrown hair treatment.
Call ahead and ask about same-day appointments.
Bring photos documenting progression.
List all products you've tried.