Table of Contents
Dark skin laser hair removal at home works by targeting hair pigment while protecting melanin‑rich skin, so you need the right tech, safe settings, and strict prep to avoid burns and pigmentation. Choose devices built for Fitzpatrick IV–VI like diode or Nd:YAG‑style, with skin tone sensors, adjustable low energy, strong cooling, and eye safety. Prep by shaving 12–24 hours before, avoiding sun and self‑tanners for 2–4 weeks, cleansing skin, and patch testing every new area or level. Treat using single pulses, full tip contact, tiny gaps, no overlaps, and start low then raise slowly only after clean 24–48 hour checks. Follow a schedule of every 2 weeks for 8 weeks, then every 3–4 weeks to 16 weeks, and maintenance every 6–12 weeks, adjusting down on sensitive or darker zones. Manage risks like burns, hyperpigmentation, hypopigmentation, and folliculitis with cooling, bland moisturizers, SPF 30+, and by pausing if irritation lasts or dark spots appear. Expect steady reduction, ~20–30 percent by weeks 6–8, more thinning by weeks 12–16, best results on coarse dark hair, and consider a professional if blisters, scars, no progress after 3–4 months, or hormonal facial hair.
Question | Answer |
|---|---|
Is dark skin laser hair removal at home safe? | Yes if you use devices approved for skin types IV–VI with low energy and proper cooling. |
Which device works best for dark skin at home? | Choose a diode or dark-skin approved IPL with skin tone sensors and contact cooling. |
How often should I do sessions on dark skin? | Treat every 2 weeks at first, then every 3–4 weeks, and maintain every 6–12 weeks. |
Should I shave before using my device? | Yes shave 12–24 hours before so light targets the follicle not surface hair. |
What risks should I watch for on dark skin? | Watch for burns, hyperpigmentation, and irritation, and stop if blistering occurs. |
Understand how at-home laser hair removal works on dark skin and key safety challenges
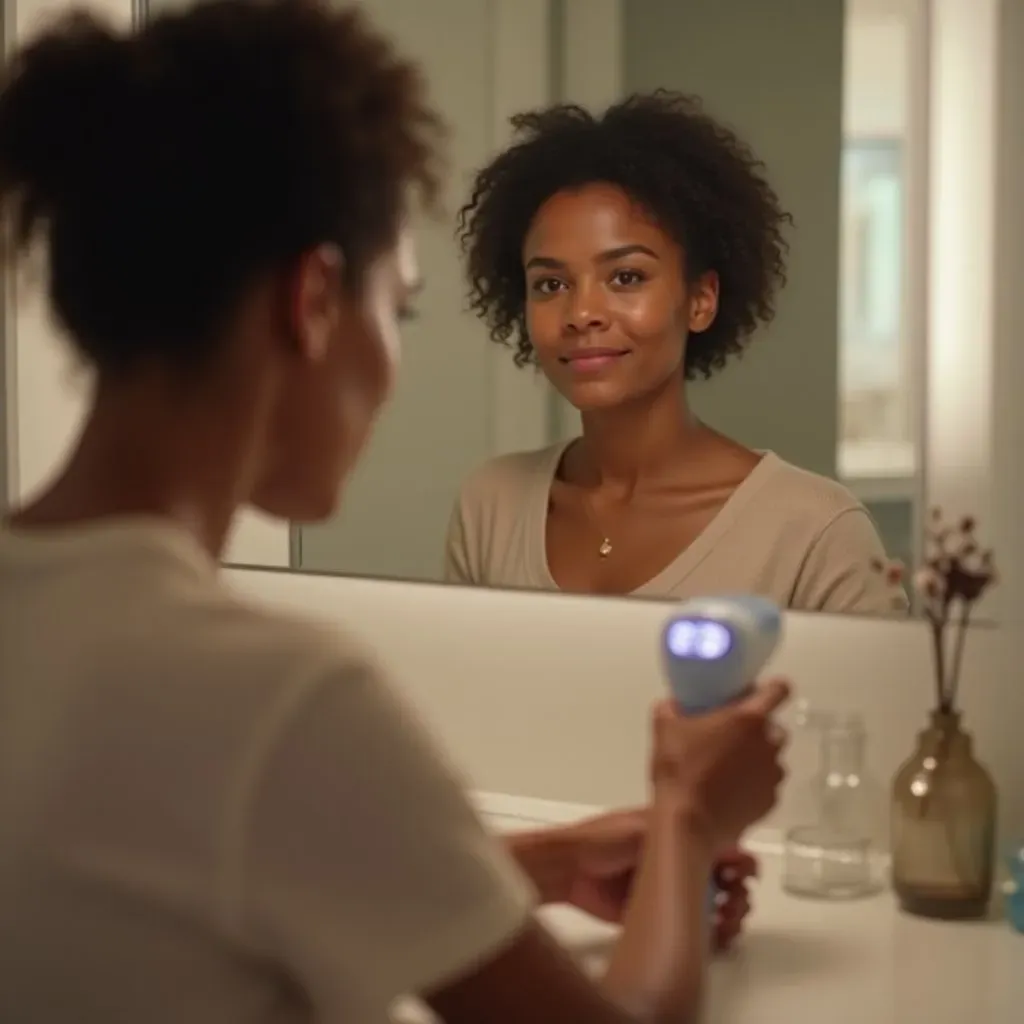
Dark skin laser hair removal at home targets pigment in the hair root with light that converts to heat and disables the follicle.
Because dark skin has more melanin, the device must differentiate hair pigment from skin pigment to avoid heating the skin itself.
Longer wavelengths and controlled energy help the light pass the epidermis and focus on the follicle more safely for deeper skin tones.
How it works in simple steps
- Shave so light reaches the follicle, not surface hair.
- Device emits a pulse that melanin in the hair absorbs.
- Heat damages the follicle in anagen (growth) phase.
- Repeat sessions hit new hairs entering growth phase.
Why device choice matters for dark skin
- Prefer diode or Nd:YAG style tech or devices approved for Fitzpatrick IV–VI.
- Look for skin tone sensors, lower energy start levels, and cooling or contact caps.
- Avoid high-fluence pulses and overlapping zaps on the same spot.
Key safety challenges
Risk | What it looks like | How to reduce it |
|---|---|---|
Burns | Immediate pain, blistering, gray/white frosting | Start low energy, steady contact, move methodically, skip tanned areas |
Hyperpigmentation | Dark spots days to weeks later | Strict sun avoidance, SPF 30+, cooling, longer intervals if irritation |
Hypopigmentation | Lighter patches on treated skin | Use devices rated for dark tones, avoid max settings, patch test first |
Scarring | Persistent texture change | Do not treat broken skin, acne, or active eczema, never stack pulses |
Eye injury | Flash blindness, irritation | Wear proper eye protection, never fire near eyes |
Essential do’s for dark skin
- Confirm your skin tone is within the device chart and do a patch test 24–48 hours before a full area.
- Use the lowest setting that feels warm but not painful and advance slowly over sessions.
- Keep 1 pulse per spot with slight gaps, no overlaps.
- Cool the skin with a gel pack before and after if your device allows contact cooling.
- Apply bland moisturizer or aloe after, avoid actives like retinoids or acids for 48 hours.
- Stay out of sun and tanning for 2–4 weeks before and after, wear SPF daily.
When to pause or skip treatment
- Recent sun exposure, tanning, or sunburn on the area.
- Active inflammation, eczema flare, open cuts, or infections.
- History of keloids or very recent chemical peels or waxing.
Helpful resources
- Safe at-home laser hair removal for brown skin
- Understanding at-home laser hair removal side effects
- At-home laser hair removal eye protection
- At-home laser hair removal and sun exposure
Choose the right device for dark skin tones with proper wavelengths and safety features
Dark skin laser hair removal at home needs devices built to target hair while sparing melanin-rich skin.
Pick tech and safety features that reduce burns and pigmentation risk and still give solid hair reduction.
Best tech types for dark skin
- Diode laser (around 800–810 nm): balanced depth, strong hair targeting with careful energy control.
- Nd:YAG-style approach (1064 nm equivalent in pro setups): deeper penetration and lowest melanin absorption, safest profile for Fitzpatrick IV–VI.
- Advanced IPL for dark tones only if device explicitly approves skin types IV–V/VI and uses smart filtering and sensors.
Must-have safety features
- Skin tone sensor: blocks pulses if your tone is outside the safe range.
- Energy lock and step-up levels: start low and increase slowly session by session.
- Large cooling tip or contact cooling: lowers epidermal heat and stings.
- Pulse modulation or glide mode: spreads energy evenly to avoid hot spots.
- Replaceable cartridges or long-life lamp: consistent output over months.
- Eye safety: visible ready light, mandatory skin contact sensor, and provided goggles.
Quick comparison guide
Device type | Skin tones supported | Pros for dark skin | Watch-outs |
|---|---|---|---|
Diode home device | Often I–V, some to VI | Good efficacy on coarse hair, precise targeting | Start at low fluence, avoid overlaps, ensure cooling |
IPL with dark-skin mode | Varies, check chart | Budget-friendly, big window for legs/arms | Needs strict sensor control and filters for IV–VI |
Nd:YAG-inspired consumer tech | IV–VI focus | Lowest melanin absorption, safer on deep tones | May be slower per pass, fewer models available |
Buying checklist
- Confirm your Fitzpatrick type on the device chart and verify approval for IV–VI.
- Look for medical-grade cooling or a chilled sapphire/quartz tip.
- Check minimum energy levels are truly low and adjustable in small steps.
- Prefer devices with built-in skin contact sensors and lockout on unsafe tones.
- Choose models with published Joules per cm² and pulse width specs, not just marketing terms.
Good practice settings for first sessions
- Use the lowest setting that gives gentle warmth without sharp pain.
- Single pass, no overlaps, 1–2 mm gaps between shots.
- Cool before and after each pass if the device lacks strong contact cooling.
- Increase one level only after a clean 24–48 hour patch test shows no darkening or ash-gray frosting.
Helpful picks and guides
- Best diode laser hair removal at home
- Are at-home laser hair removal devices effective
- Is at-home laser hair removal safe
- Best Nd:YAG laser hair removal machine
- At-home laser hair removal with cooling
Prep your skin: shave, avoid sun, and do a patch test before each session
Dark skin laser hair removal at home works best when the skin is calm, hair is trimmed at the surface, and you test the settings first.
Shave correctly 12–24 hours before
- Use a sharp razor and plain gel to cut hair flush with skin without irritation.
- Shave in the direction of growth to reduce razor bumps and ingrowns.
- Skip waxing, epilating, or tweezing for 3–4 weeks so follicles stay present for the laser.
- Rinse with cool water and apply a bland moisturizer after shaving.
Avoid sun and tanning
- No tanning beds or self-tanners on the area for 2–4 weeks pre-treatment.
- Use broad-spectrum SPF 30+ daily and reapply if outdoors.
- Cover the area with clothing when possible to prevent fresh tan that raises burn risk.
Do a patch test every new area or setting
- Clean and dry a small spot the size of a postage stamp on the target area.
- Start at the lowest energy setting your device allows for dark tones.
- Deliver one pulse, no overlap, then note warmth or sting.
- Wait 24–48 hours and check for excess redness, darkening, ash-gray frosting, blisters, or itch.
- If clear, you may step up one level next time and repeat the patch test.
Pre-session checklist
Step | What to do | Why it matters |
|---|---|---|
Cleanse | Wash area, dry fully, remove lotions, oils, deodorant, makeup | Prevents energy scatter and hot spots |
Shave | 12–24 hours prior, no stubble >1 mm | Targets follicle not surface hair, reduces burns |
Sun status | Confirm no tan/sunburn and SPF used consistently | Lowers hyperpigmentation risk on dark skin |
Patch test | One pulse at chosen level, wait 24–48 hours | Checks safe energy for your tone and area |
Cooling plan | Have a clean gel pack or device cooling tip ready | Keeps epidermis comfortable and protected |
Skip actives and irritants
- Pause retinoids, AHAs/BHAs, benzoyl peroxide, and exfoliation 48 hours before and after.
- Avoid fragranced lotions and alcohol-based products on treatment day.
Prevent ingrown hairs
- Hydrate skin daily with a light, non-comedogenic moisturizer.
- After 48 hours post-session, use a gentle PHA or low-strength salicylic on body areas if prone to bumps.
Helpful how-tos
- At-home laser hair removal: how to use
- At-home laser hair removal and sun exposure
- Understanding at-home laser hair removal side effects
- At-home laser hair removal instructions
Follow a step-by-step treatment plan with correct settings and spacing between sessions
Dark skin laser hair removal at home needs a simple, repeatable plan so you hit hair in growth phase without irritating skin.
Set safe starting parameters
- Select dark-skin mode or the lowest energy level approved for your tone.
- Choose single pulse mode first, not continuous glide, for better control.
- Use the smallest window or precise tip on curved or bony areas.
- Keep the handpiece flat with full contact to avoid hot spots.
Step-by-step session flow
- Clean, dry, and shaved skin with no products on the area.
- Cool the skin briefly if your device lacks strong contact cooling.
- Place the tip flush, fire one pulse, then lift and move to the next spot.
- Maintain tiny gaps of 1–2 mm between pulses, no overlaps.
- Work in small grids, note any sting beyond warm snap, and dial down if needed.
- Finish the grid, cool again, then apply a bland moisturizer or aloe.
Session spacing and schedule
Phase | Frequency | Notes for dark skin |
|---|---|---|
Build phase (Weeks 1–8) | Every 2 weeks | Keep settings low to moderate, only increase after clear 24–48 hr checks |
Consolidation (Weeks 9–16) | Every 3–4 weeks | Treat only visible regrowth, skip irritated areas |
Maintenance | Every 6–12 weeks | Spot-treat new sprouts, avoid stacking pulses |
Smart setting progression
- Only raise one level after a clean patch test shows no darkening, blister, or ash-gray frosting.
- Coarse, dark hair can handle slightly higher fluence than fine hair, but increase slowly.
- Reduce energy on naturally darker areas like knees, ankles, and bikini edges.
Area-specific tips
- Face/neck: use lower energy and longer intervals to reduce post-inflammatory hyperpigmentation.
- Underarms/bikini: shave close, hold skin taut, and keep passes single.
- Legs/arms: use a larger window if available, but keep grid lines consistent.
Aftercare between sessions
- Moisturize daily and avoid exfoliants for 48 hours post-session.
- Strict sun protection with SPF 30+ every day on exposed areas.
- No waxing or tweezing between sessions; trimming or shaving only.
When to pause or adjust
- Pause if you see new dark spots, persistent redness >48 hours, or blistering.
- Drop one level or extend spacing to 4–6 weeks if skin feels reactive.
- Seek pro advice if results stall after 3–4 months or if you have frequent ingrowns.
Useful planning resources
- At-home laser hair removal instructions
- At-home laser hair removal effectiveness
- Laser hair removal and ingrown hairs
- Best time to get laser hair removal
Manage risks, aftercare, and realistic results, plus when to see a professional
Dark skin laser hair removal at home needs tight risk control and steady aftercare to protect melanin-rich skin.
Common risks and how to limit them
Risk | Early signs | What to do |
|---|---|---|
Post‑inflammatory hyperpigmentation | Brown spots days after treatment | Lower energy, extend spacing, strict SPF 30+, add gentle niacinamide after 48 hours |
Burns or blistering | Sharp pain, white/gray frosting, blisters | Stop immediately, cool with clean gel pack, apply plain petrolatum, seek care if blistered |
Hypopigmentation | Pale patches on treated skin | Pause use, avoid sun, consult a dermatologist for guidance |
Irritation and folliculitis | Red bumps, itch, tenderness | Cool compress, bland moisturizer, consider antiseptic wash for 3–5 days |
Eye exposure | Flash, discomfort | Wear goggles, never fire near eyes or reflective surfaces |
Aftercare that protects dark skin
- Cool the area for 5–10 minutes right after each session if warm or flushed.
- Use a bland moisturizer twice daily for 48 hours; avoid fragrances and alcohol.
- No exfoliants, retinoids, AHAs/BHAs, or scrubs for 48–72 hours.
- SPF 30+ every day on exposed areas, reapply if outdoors, and cover with clothing.
- Only shave between sessions; do not wax, tweeze, or thread.
- Keep workouts light for 24 hours to limit sweat and friction on treated zones.
Realistic results and timelines
- Expect slower, steadier change on dark skin using conservative energy.
- Typical reduction 20–30 percent by weeks 6–8 with consistent spacing.
- More visible thinning and slower regrowth by weeks 12–16.
- Maintenance every 6–12 weeks keeps results, especially on hormonal areas.
- Coarse, dark hair responds best; very light or gray hair rarely shows change.
When to pause and see a professional
- Any blistering, severe pain, spreading dark patches, or scars.
- No improvement after 3–4 months despite correct spacing and settings.
- History of keloids, active eczema/psoriasis in the area, or recurrent ingrowns.
- Facial hair with possible hormonal drivers like PCOS or thyroid issues.
- Need for dark-skin expert evaluation or Nd:YAG-level settings not available at home.