
Table of Contents
Tired of endless shaving, painful waxing, or expensive salon visits? Imagine achieving silky-smooth skin from the comfort of your own home. That's the promise of at-home laser hair removal devices. But how do you actually use them? Don't worry, it's not as scary as it sounds. This article will be your guide to understanding how to do laser hair removal at home safely and effectively. We'll start by covering the basics, like what these devices are and how they work. Then, we'll dive into a step-by-step process, making sure you know exactly what to do before you even press that button. We'll also tackle common questions and concerns, so you feel confident and informed. Get ready to say goodbye to unwanted hair and hello to smoother skin, all without breaking the bank or leaving your house. Let’s get started on your journey to hair-free freedom!
Getting Started with AtHome Laser Hair Removal
Getting Started with AtHome Laser Hair Removal
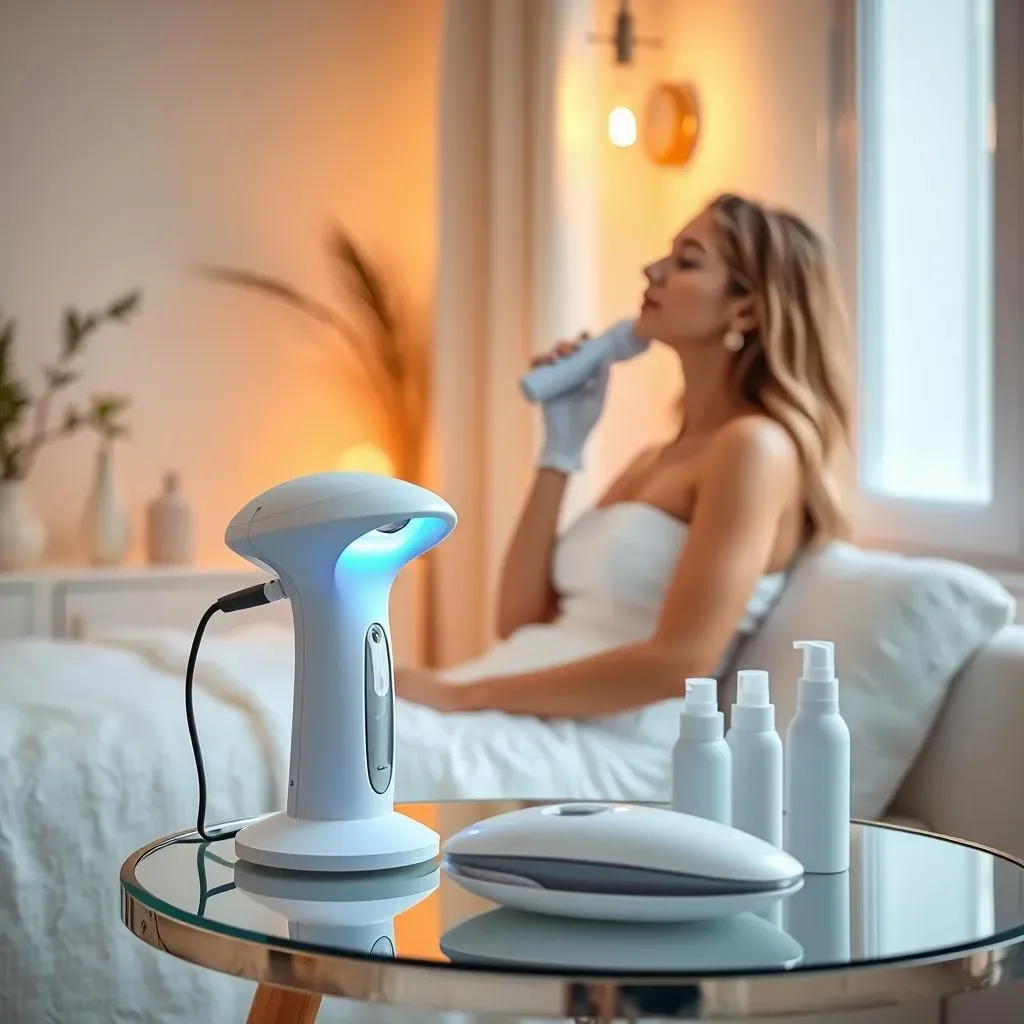
So, you're thinking about ditching the razor and embracing the world of at-home laser hair removal? Smart move! It's like having a personal spa day, whenever you want. Now, before you get all excited and start zapping away, let's talk about the basics. First off, these aren't actual lasers you see in fancy clinics; they're Intense Pulsed Light (IPL) devices. Think of it like a super-powered flashlight that targets the pigment in your hair follicles. The light heats up the follicle, which slows down hair growth over time. It's not an instant fix, but with consistency, you'll see those pesky hairs become finer and less frequent. Not all skin and hair types are a match though. If you have very blonde, red, gray, or white hair or very dark skin, this might not be the method for you. It’s best to check the device’s manual for specifics, and maybe do a little research online for reviews specific to your skin tone and hair color before you buy one.
So, before you even think about turning on your device, here are a few things you need to check:
- Skin Tone: IPL works best on fair to medium skin tones with dark hair.
- Hair Color: Darker hair absorbs the light better, so it's more effective.
- Device Manual: Seriously, read it! Every device is a little different, and the instructions are your best friend.
StepbyStep: How to Do Laser Hair Removal at Home
StepbyStep: How to Do Laser Hair Removal at Home
Prep Work: Getting Ready for Zap Time
Alright, so you've got your device, you've read the manual (good job!), and you're ready to go. First things first, you need to prep your skin. This means shaving the area you plan to treat. Yes, shave! I know it sounds counterintuitive, but the IPL needs to target the hair follicle under the skin, not the hair on the surface. Make sure you do this the same day of treatment for the best results, if you wait too long, the hair will grow back and you'll have to shave again. Also, make sure your skin is clean and dry. No lotions, creams, or anything else that could interfere with the light. Think of your skin as a blank canvas for the device to work its magic.
The Zapping Process: Step-by-Step
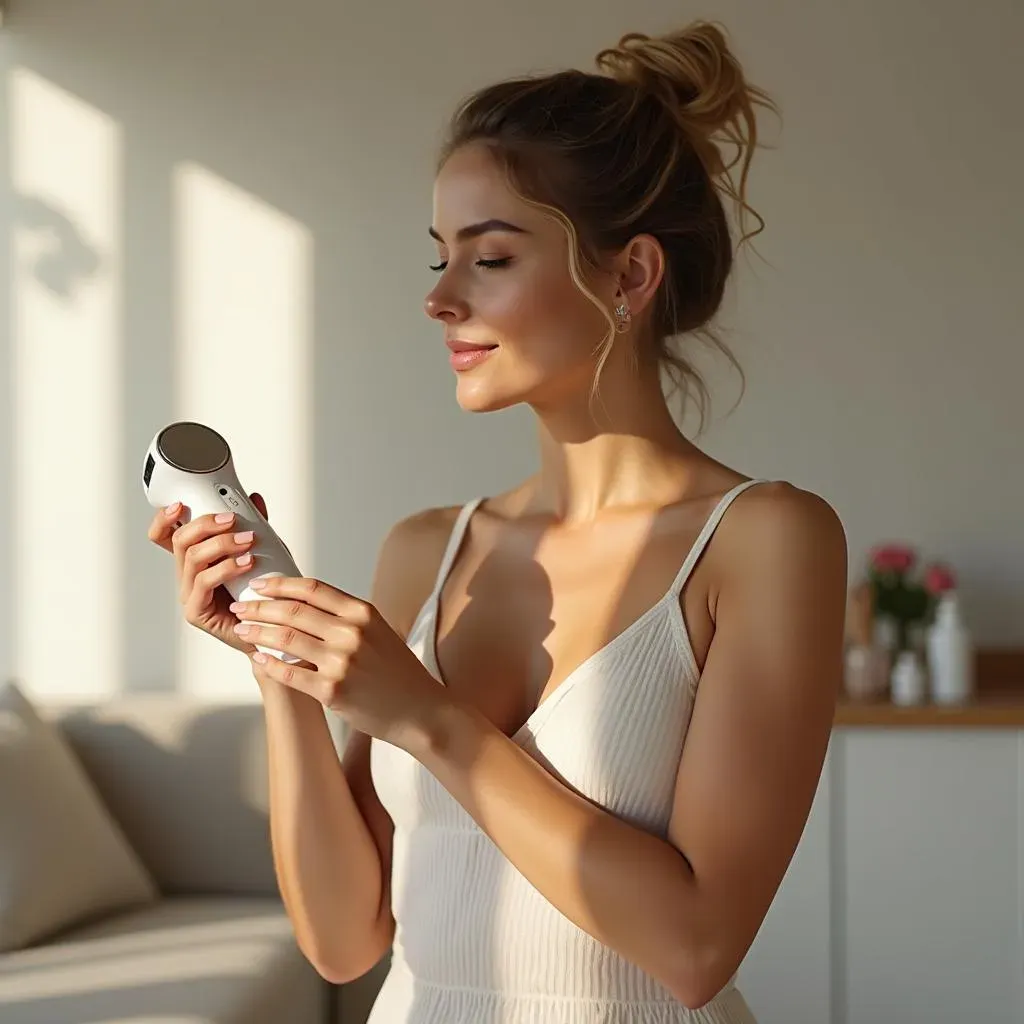
Now for the fun part! Turn on your device and select the appropriate intensity level. Most devices have a sensor that will help you choose the right setting for your skin tone, but you might need to adjust it if it's too uncomfortable. Start with the lowest setting, and work your way up. Place the device firmly against your skin and press the button to release the light pulse. You'll likely feel a warm sensation, maybe a slight sting, but it shouldn't be painful. Move the device to the next area, making sure you overlap slightly to ensure you treat every spot. Don't go over the same area multiple times in one session, that's just asking for trouble. Work your way around the area, and be patient. It's not a race, it’s a marathon. It is better to take your time to do this properly.
Step | Action |
|---|---|
1 | Shave the treatment area |
2 | Clean and dry your skin |
3 | Turn on the device and select the intensity |
4 | Place device firmly against the skin, and press the button |
5 | Move to the next area, overlapping slightly |
Post-Treatment Care: What to Do After
You've finished your session, congrats! Now, don't go basking in the sun. Your skin will be a little sensitive, so it's best to avoid direct sunlight for at least 24 hours. If you must go outside, use a good SPF 15 sunscreen. Also, avoid hot showers or baths for a few hours, and skip the gym or any activity that could make you sweat. Your skin needs time to chill out. Now, for the most important part: consistency. You won't see results overnight. It takes several treatments, usually spaced a few weeks apart, to see a noticeable reduction in hair growth. Be patient, stick to the plan, and you'll get there. Remember, it's not about perfection, it's about progress.
Maximizing Results and Safety When Doing Laser Hair Removal at Home
Maximizing Results and Safety When Doing Laser Hair Removal at Home
Consistency is Key
so you've started your at-home laser hair removal journey. Now, let's talk about making sure you're getting the best results. One of the biggest mistakes people make is not being consistent. This isn't a one-and-done kind of deal, you need to stick to your treatment schedule. Most devices recommend using them every few weeks, and you gotta listen to that. Skipping treatments or not doing them regularly will mean it'll take longer to see results, and you might end up getting frustrated. Think of it like watering a plant, you can't just water it once and expect it to grow big and strong, you need to do it regularly. Same thing goes for laser hair removal, you need to be consistent to see the results you want.
Another thing to remember is that not all hair grows at the same rate. Some might be in a growth phase, while others are resting. That's why it takes multiple treatments to catch all of the follicles during their growth phase. You need to be patient and keep at it.
Safety First, Always
I know, I know, safety talks are boring but they're super important. When you're zapping your skin with light, you need to take precautions. First off, never use your device on areas that are tattooed, have moles, or have broken skin. Also, avoid using it on your face, neck, or genital area unless your device specifically says it’s okay to do so. Some devices come with special attachments for those areas, but it’s best to do a patch test on a small area first to see how your skin reacts. If you experience any redness or swelling, stop using the device and give your skin a break.
Also, while it's not always necessary, some people find that using a cooling gel after treatment helps soothe any irritation. This is something you can try if you find your skin feels a bit sensitive after your session. But again, always follow the instructions in your device's manual and don't do anything that isn't recommended. It's better to be safe than sorry, especially when you’re dealing with lasers and your beautiful skin.
Safety Tip | Description |
|---|---|
Avoid Tattoos and Moles | Do not use the device on tattooed skin or moles |
Patch Test | Test a small area before treating larger areas |
Use Cooling Gel | Apply cooling gel to soothe skin if needed |
Understanding Your Skin and Device
Finally, let's talk about understanding your skin and your device. Every person's skin is different, so what works for your friend might not work for you. Pay attention to how your skin reacts to the treatment. If you feel any pain or discomfort, lower the intensity setting. It's better to use a lower setting and do more treatments than to hurt yourself by using a setting that's too high. Also, make sure you're using the right settings for the area you're treating. Some devices have different modes for different parts of your body, so make sure you're using the right one. And again, read your device's manual. It's your best friend in this process. The better you understand your skin and your device, the better your results will be, and the safer you’ll be. It might seem like a lot, but it's all worth it for smooth, hair-free skin.
Wrapping Up Your At-Home Laser Hair Removal Journey
So, you've now got the lowdown on how to do laser hair removal at home. It might seem like a big step, but with the right knowledge and a little patience, you can achieve great results. Remember, consistency is key, and it’s essential to be safe and follow the instructions closely. While it may take some time to see the full effects, imagine the freedom of not having to constantly shave or wax. You're taking control of your hair removal process, and that's pretty awesome. So go ahead, give it a try, and get ready to enjoy that smooth skin you've been dreaming of. It's your body, your choice, and now, your hair removal process.