Table of Contents
Tired of shaving, waxing, or those pesky ingrown hairs? What if I told you that you could achieve smooth, hair-free skin without the hefty price tag of salon treatments? You've probably heard about laser hair removal, but maybe the idea of doing it at home seems a bit daunting. Well, it's not as scary as it sounds! This article is your friendly guide to understanding how to laser hair removal at home using devices like the Braun Skin i·expert Smart IPL. We'll walk you through the preparation steps, how to use the device correctly, and share some tips to get the best results. We will also cover essential safety precautions and aftercare advice. Think of this as your personal cheat sheet to achieving that silky skin you've always wanted, all from the comfort of your own bathroom. So, are you ready to say goodbye to unwanted hair? Let's get started!
Getting Started: Preparing for AtHome Laser Hair Removal

Getting Started: Preparing for AtHome Laser Hair Removal
Shaving or Trimming: The First Step
Alright, so you're ready to tackle that unwanted hair with your at-home laser device, fantastic! But hold up, we can't just jump right in. First things first, you need to get rid of any visible hair on the surface of your skin. Why? Because the laser targets the hair follicle underneath the skin. If there's hair sticking out, it can actually cause burns or hinder the laser's effectiveness. Think of it like mowing a lawn before you water it, you want to get the surface even so that the water can reach the roots.
So, grab your razor, or if you prefer, use a trimmer to get those hairs nice and short. Don't wax or pluck, that'll remove the follicle that the laser is trying to target. The goal is to have a smooth surface for the laser to work its magic. This step is super important, so don't skip it! It's like prepping the canvas before you paint a masterpiece, you want to make sure the surface is ready for the main event.
Clean and Dry Skin: Setting the Stage
Now that you’re all shaved or trimmed, it’s time to make sure your skin is clean and ready to go. Imagine trying to apply a sticker to a dusty surface, it just won’t stick right, will it? The same idea applies here. You want to remove any dirt, lotions, or oils that might be hanging out on your skin. These can interfere with the laser and could even cause irritation. So, hop in the shower or use a gentle cleanser to make sure your skin is squeaky clean. Then pat it dry with a soft towel and let it air dry for a few minutes, making sure it's completely dry before you start the laser treatment.
Also, avoid using any harsh chemicals or strong perfumes just before your treatment. Think of your skin as a delicate flower that needs gentle care, you wouldn’t douse it in harsh chemicals, would you? Your skin will thank you for taking the extra time to prep it properly, and you'll be well on your way to smoother, hair-free skin.
Step | Action | Why? |
|---|---|---|
1 | Shave or trim visible hair | Laser targets hair follicles, not surface hair |
2 | Clean skin thoroughly | Removes dirt and oils that interfere with the laser |
3 | Dry skin completely | Ensures proper laser function and prevents irritation |
StepbyStep Guide: Using Your IPL Device

StepbyStep Guide: Using Your IPL Device
Choosing the Right Attachment
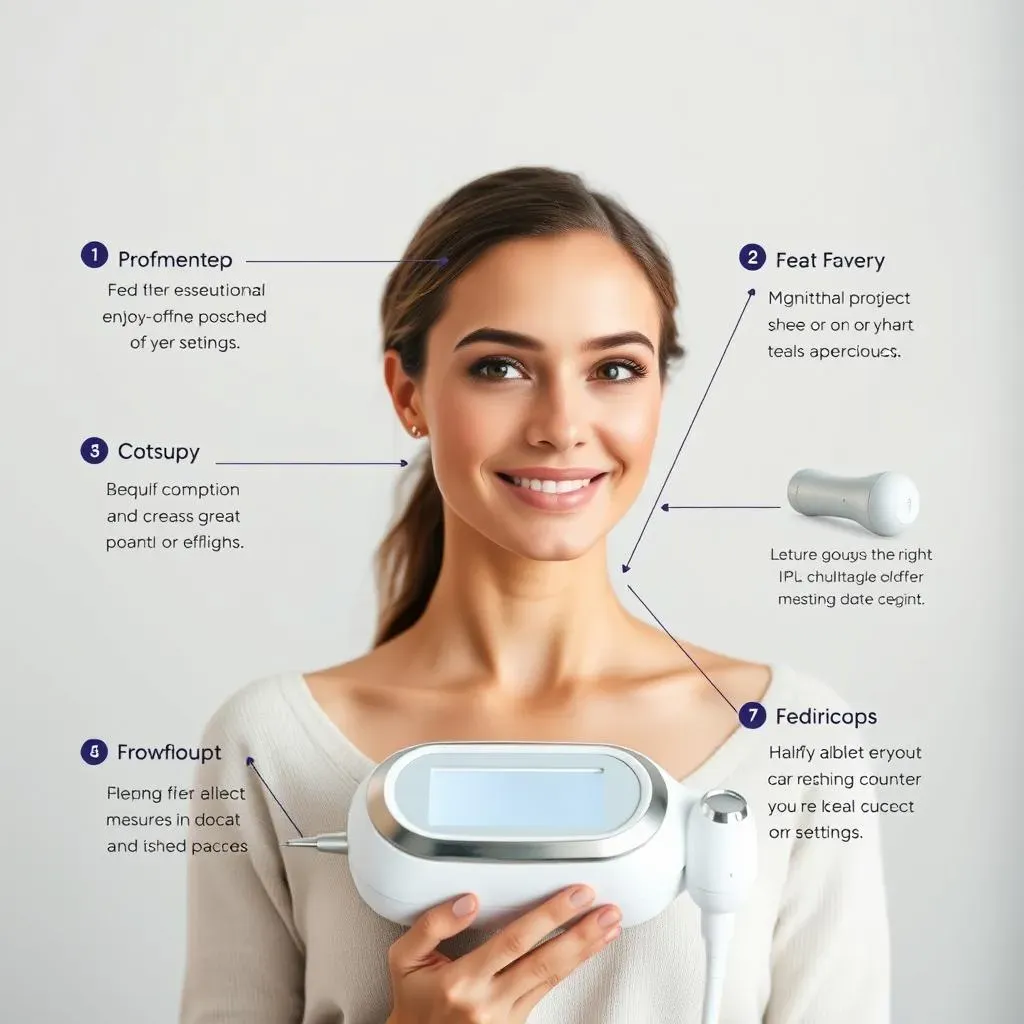
so your skin's prepped and ready, now it's time to get to know your IPL device a little better. Most at-home IPL devices, like the Braun Skin i·expert Smart IPL, come with different attachments. These attachments are usually designed for different areas of your body. You might have a smaller one for those tricky spots, like your upper lip or bikini line, and a larger one for bigger areas, like your legs or arms. It's like choosing the right paintbrush for a painting; you wouldn't use a tiny brush on a large canvas, right? So, take a moment to figure out which attachment is the best fit for the area you're about to treat. Using the correct attachment will help ensure the treatment is effective and comfortable. If you're unsure, the user manual is your best friend, it has all the information you need to make the right choice.
Adjusting the Settings: Finding Your Level
Once you've got the right attachment, it's time to adjust the settings on your device. IPL devices usually have different intensity levels. Think of it like a volume control on a speaker; you don't want to blast it at full volume right away, especially if it's your first time. Start with the lowest setting and see how your skin reacts. The Braun Skin i·expert Smart IPL is pretty cool because it has a SensoAdapt sensor that reads your skin tone and adjusts the flash intensity automatically. But even with that, it's a good idea to start low and work your way up. If you feel a bit of warmth or slight tingling, that's normal. But if it feels too hot or uncomfortable, then turn it down a notch, you don't want to turn your skin into a lobster. It's all about finding the sweet spot where it's effective but not painful.
Step | Action | Why? |
|---|---|---|
1 | Select the correct attachment | Ensures proper treatment for different body areas |
2 | Adjust the intensity setting | Starts low to assess skin reaction, then adjusts as needed |
Treating the Area: Flash by Flash
you've chosen the right attachment, found your perfect intensity level, now it’s time for the main event. Place the device firmly against your skin, making sure it’s making full contact. Most devices have a light indicator or a beep to let you know when it’s ready to flash. Once it’s ready, press the flash button and move the device to the next area of skin, overlapping slightly so you don't miss any spots. It’s kind of like mowing the lawn, you want to overlap each row to make sure you’re cutting all the grass. Don't go over the same area more than once in a single session, remember, patience is key here. Take your time and be thorough, you want to make sure you're treating all the areas you want to target.
After the Flash: What to Expect
So, you've finished flashing the area, good job! Now what? Well, after each flash, you might notice a little redness or warmth on your skin, it's like your skin saying "hey, what was that?". Don't worry, that's totally normal and should fade pretty quickly. You might also notice a slight smell, kind of like burnt hair, it’s just the laser doing its work. The most important thing is to avoid sun exposure after your treatment, your skin will be more sensitive. Also, avoid using hot tubs or saunas right after your treatment, and use a gentle moisturizer to keep your skin happy. Think of it as giving your skin a little spa treatment after a workout, you want to make sure it's feeling good and comfortable.
- Always overlap slightly to ensure full coverage.
- Don't repeat the flash on the same area.
- Redness or warmth after treatment is normal.
Maximizing Results: Tips and Tricks for Effective Hair Removal

Maximizing Results: Tips and Tricks for Effective Hair Removal
Consistency is Key: Sticking to the Schedule
so you've got the hang of the laser process, but here’s the thing: patience is your best friend when it comes to at-home laser hair removal. It's not a one-and-done deal; you won’t wake up tomorrow with perfectly smooth legs. Think of it like training for a marathon, you wouldn't expect to run 26 miles after just one day of training, would you? Laser hair removal works best when you’re consistent. Most devices recommend using them weekly for the first 4 to 12 weeks, and then going to maintenance treatments every month or two. Sticking to this schedule is super important if you want to see real results. So, mark those treatment days on your calendar and make it a part of your routine. It’s a commitment, but trust me, it’s worth it.
Also, don't be tempted to overdo it by increasing the frequency of your sessions, this will not speed up the process. Your skin needs time to recover after each treatment. Consistency is the key to unlocking the long-term benefits of laser hair removal and achieving that smooth, hair-free skin you're aiming for. Be patient and trust the process, the results will come.
The Hair Growth Cycle: Timing is Everything
Here’s a little secret about hair growth: it doesn't all grow at the same time. Your hair goes through different phases, and the laser only works on hairs that are in the active growth phase. It's like trying to catch fish in a pond; you’ll have the best luck when they’re actively swimming around. Some hairs might be in the resting phase, which means the laser won't affect them at all. That's why you need multiple treatments, to catch those hairs when they're in their active phase. Think of it like a game of hide and seek with your hair follicles, you need to keep trying until you find them all. This is why consistency is essential; you need to hit those hairs when they’re most vulnerable. So, stick to your treatment schedule and be patient, you’ll get them all eventually.
Tip | Description | Why? |
|---|---|---|
Stick to the Schedule | Use the device as recommended, usually weekly for the first few weeks. | Consistency is key for optimal results. |
Understand Hair Growth | Laser works best on hairs in the active growth phase | Multiple treatments are needed to target all hairs. |
Safety and Aftercare: What You Need to Know

Safety and Aftercare: What You Need to Know
Skin Sensitivity: Knowing Your Limits
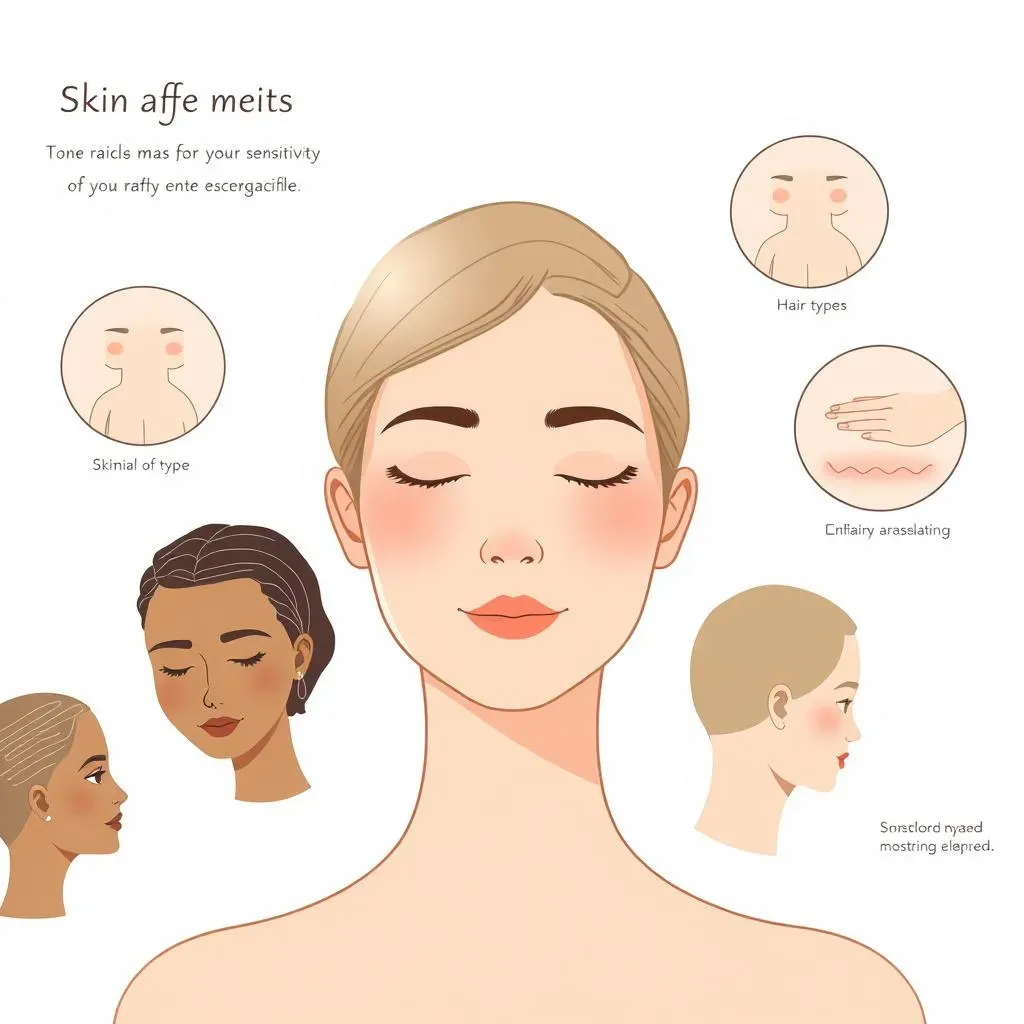
so you're getting the hang of this at-home laser hair removal thing, but let's talk safety for a sec. It's super important to know your skin and how it reacts to the laser. Not everyone's skin is the same, and what works for your friend might not work for you. If you have a lighter skin tone and darker hair, you're generally a good candidate for IPL devices. But if you have darker skin, you need to be extra careful because there's a higher risk of skin discoloration or burns. The same goes if you have very blonde, red, grey, or white hair, the laser might not be very effective. Think of it like choosing the right ingredients for a recipe; you need to pick the ones that work best for your skin type. Always start with the lowest setting and do a small test patch on your skin before treating a larger area. If you notice any excessive redness, swelling, or blistering, stop the treatment immediately and consult with a dermatologist. Safety first, always!
Also, avoid using the laser on areas with tattoos, moles, or scars. These areas can react differently to the laser and cause unwanted issues. It's like avoiding a pothole on the road; you don't want to drive over it because it can cause damage. So, be mindful of these areas and avoid them during your treatment. And if you're taking any medications that make your skin more sensitive to light, be extra cautious. Knowing your skin and its limitations is vital for a safe and effective laser hair removal experience. Take the time to understand your skin and always err on the side of caution.
Post-Treatment Care: Keeping Your Skin Happy
You’ve finished your laser session, awesome! But the work isn’t over yet. Proper aftercare is just as crucial as the treatment itself. Think of it like watering your plants after you've transplanted them, you want to make sure they thrive in their new environment. After your treatment, your skin might be a little more sensitive, so you need to treat it with extra care. Avoid direct sun exposure for at least 24 hours, and when you do go outside, always use a sunscreen with at least SPF 15. It's like wearing a hat on a sunny day, you want to protect your skin from the harsh rays. Also, avoid using hot tubs, saunas, or products that might irritate your skin, like harsh scrubs or perfumes. Stick to gentle, fragrance-free moisturizers to keep your skin hydrated. It's like giving your skin a big hug, you want to make sure it's feeling comfortable and soothed. And if you notice any persistent redness or irritation, don’t hesitate to reach out to a dermatologist. Taking good care of your skin post-treatment will help ensure the best results and a happy, healthy glow.
Also, remember that patience is key. It might take a few weeks to see the full results, and you might need to do maintenance treatments every month or two. But with consistency and proper care, you’ll eventually get to enjoy that smooth, hair-free skin you’ve been dreaming of. It’s like waiting for a cake to bake, you need to give it time in the oven before you can enjoy the delicious result. So, keep going, you're almost there!
Safety Guideline | Action | Why? |
|---|---|---|
Skin Tone Awareness | Be cautious with darker skin tones | Reduces risk of burns or discoloration |
Test Patch | Test a small area first | Ensures skin reacts well to the laser. |
Avoid Tattoos and Moles | Don't use the laser on these areas | Prevents unwanted reactions. |
Sun Protection | Use sunscreen after treatment | Protects sensitive skin from sun damage. |
Gentle Skincare | Use fragrance-free moisturizers | Keeps skin hydrated and calm. |
Wrapping Up: Your Journey to Smooth Skin
So, there you have it – the ins and outs of how to laser hair removal at home. It's not magic, but it's pretty darn close. With a bit of patience, the right device, and a good understanding of your skin, you can get rid of unwanted hair. Remember, it's all about being consistent and following the steps we’ve talked about. Don't expect overnight miracles, but stick with it, and you will see results. And hey, if you find yourself with some extra time, maybe try out some cool designs with your smooth skin! Just kidding ( mostly ). Now, go on and enjoy that silky, hair-free skin you’ve worked for!
