Table of Contents
Apply warm compresses 10-15 min 3-4x daily to soften skin and reduce swelling.
Gently exfoliate 2-3x weekly for 30-60 seconds to help trapped hairs surface.
Only use sterile tweezers on visible hair loops pulling in growth direction.
Apply antibiotic ointment 2-3x daily for 3-5 days to prevent infection.
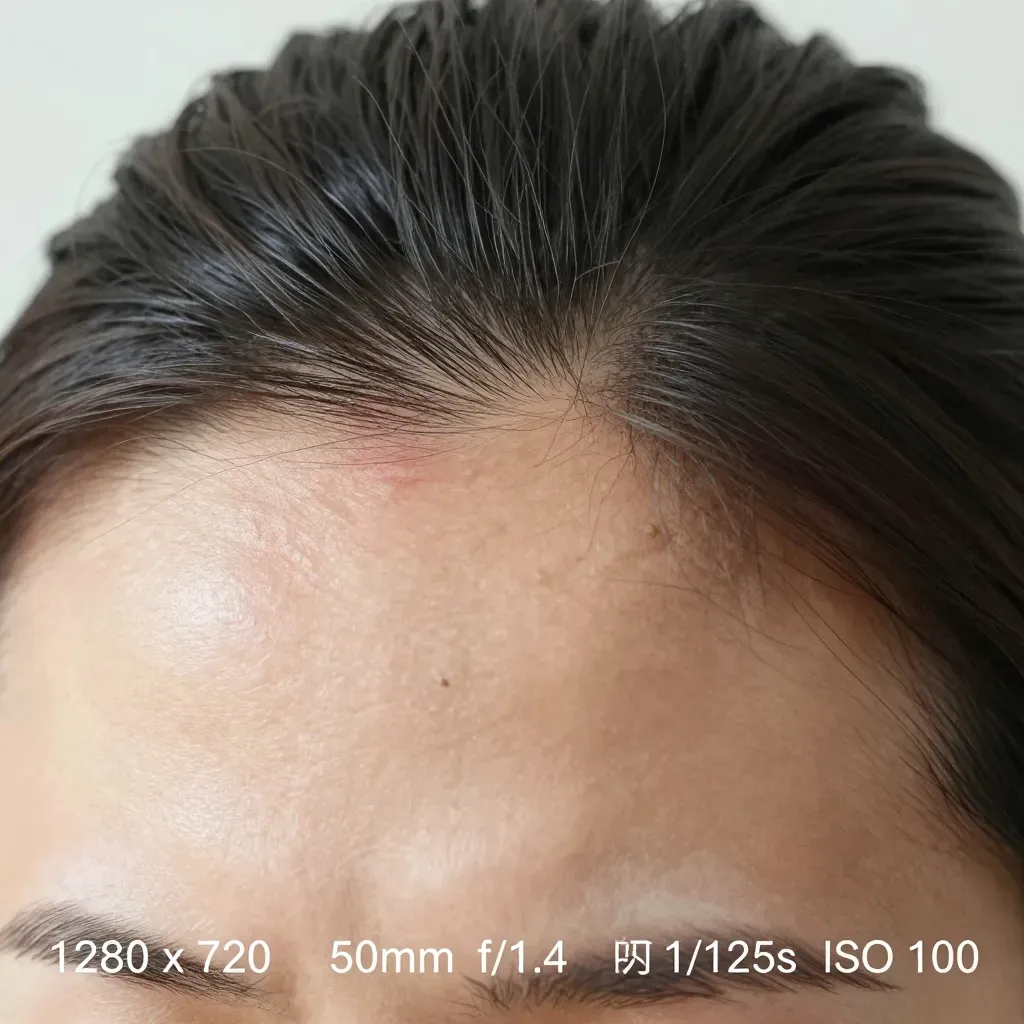
See doctor immediately for red streaks fever severe pain or no improvement after seven days.
Question | Answer |
|---|---|
How often apply warm compresses? | Use 10-15 minutes 3-4 times daily. |
When can I use tweezers? | Only when you see a visible hair loop. |
What are infection warning signs? | Watch for red streaks fever severe pain or spreading swelling. |
How long try home treatment? | Try home treatment for maximum seven days. |
How sterilize tweezers properly? | Soak in alcohol five minutes or boil ten minutes. |
Apply warm compresses to soften skin and reduce swelling
Make the compress
Run clean washcloth under hot water. Wring out excess. Test on wrist first. Should feel warm not hot. Microwave alternative: damp cloth 10-15 seconds. Never boiling water on skin. Optional: add salt for antibacterial boost.
How to apply
Place directly on ingrown spot. Hold 10-15 minutes. Reheat when cool. Do this 3-4 times daily. Gentle pressure draws hair upward. Use cotton pad for small areas like face or bikini line.
Schedule
Morning and night works best. Continue minimum 2-3 days. Deep ingrowns need up to one week. Consistency beats intensity. Track days on phone.
Do | Don't |
|---|---|
Clean cloth each use | Reuse dirty compress |
Test temperature | Apply scalding hot |
10-15 min sessions | Leave on hours |
Pat dry after | Rub hard |
Wash area first | Apply products right after |
- Boosts blood flow to trapped hair
- Softens skin so hair can break through
- Reduces swelling and pain
- Helps natural hair expulsion
- Opens pores to prevent infection
Watch for hair loop or dark shadow after few days. Thats your cue for safe removal. No change after one week? See doctor. Red streaks mean infection. Get medical help immediately. More guidance here.
Exfoliate gently to help trapped hairs surface naturally
Pick your exfoliant
Use soft washcloth, sugar scrub, or salicylic acid. Avoid harsh beads. Test first on inner arm. Sensitive skin? Choose chemical exfoliants. They work gentler. Start with lowest concentration. Increase slowly if needed. Budget option: baking soda paste. Mix with water. Use once weekly only.
Exfoliate the right way
Apply to damp skin. Use light circular motions. 30-60 seconds max. Rinse lukewarm water. Pat dry. Moisturize immediately. Never scrub broken skin. Focus on problem area. Cover one inch around it. Use ring finger for face. Less pressure automatically.
How often
Start 2-3 times weekly. Space 48 hours apart. Best after warm compress. Reduce if skin feels raw. Stop during bad breakouts. Resume when healed. Track sessions on phone. Consistency matters more than intensity. Dry skin? Stick to once weekly. Oily skin can handle more.
Do | Don't |
|---|---|
Light circles | Back-and-forth scrub |
30-60 seconds | Minutes of rubbing |
Damp skin | Dry skin |
Clean tools | Store damp |
Moisturize after | Leave bare |
Wait 48h between | Daily exfoliation |
Gentle pressure | Scrub until red |
- Clears dead skin blocking hair
- Reduces bumps and swelling
- Speeds hair surfacing
- Prevents new ingrowns
- Smooths skin texture
- Improves product absorption
- Reduces hyperpigmentation risk
Hair visible in 3-5 days with consistent effort. No luck? Professional help needed. Sensitive area tips here. Combine with warm compress for best results. Patience pays off.
Use sterile tweezers only on visible hair loops
Sterilize before use
Wash tweezers with soap. Rinse. Soak in rubbing alcohol 5 minutes. Or boil water 10 minutes. Flame works too: pass through lighter flame quickly. Let cool. Never touch tips after sterilizing. Use clean paper towel to handle. Store in sealed bag. Replace tweezers if rusty or dull.
Wait for visible loop
Only tweeze when you see hair loop above skin. Looks like tiny dark U-shape. Or small shadow under surface. No loop means hair still trapped deep. Forcing it causes infection. Use magnifying mirror. Good lighting essential. Phone flashlight helps. No loop after week? See doctor.
Technique
Grip loop gently. Pull in hair growth direction. Slow steady motion. No yanking. If it resists stop. Try warm compress again. Never break skin. Never dig underneath. Angle tweezers almost flat against skin. Use pointed tip for precision. Round tip safer for beginners.
After removal
Apply antiseptic immediately. Use cotton swab. Dab only. No rubbing. Cover with bandage if needed. Remove next day. Keep area clean and dry. No makeup or lotion 24 hours. Watch for redness. Spreading red means infection.
Do | Don't |
|---|---|
Sterilize first | Use dirty tweezers |
Wait for loop | Dig blindly |
Pull with grain | Yank against growth |
Gentle pressure | Force it out |
Clean after | Leave open |
Stop if pain | Push through pain |
- Prevents infection
- Reduces scarring
- Minimizes pain
- Speeds healing
- Stops recurrence
Hair breaks during removal? Leave it alone. Skin heals over. Try again in few days. Persistent problems? Professional extraction prevents damage. Cyst removal guidance here.
Apply antibiotic ointment to prevent infection
Pick your ointment
Grab over-the-counter antibiotic ointment. Neosporin or Polysporin works. Look for bacitracin, neomycin, polymyxin B. Skip if allergic. Use petroleum jelly instead. No prescription needed. Check expiration date. Buy small tube. Store at room temperature. Toss old tubes from medicine cabinet. They lose effectiveness after one year.
When to apply
Apply immediately after hair removal. Clean area first with mild soap. Pat dry completely. Wait 5 minutes. Let skin breathe. Then apply ointment. Don't wait hours. Bacteria multiply fast. First 24 hours are critical. Reapply after each wash. Keep barrier active throughout day.
Application technique
Wash hands thoroughly first. Use cotton swab for precision. Dab thin layer directly on spot. Cover completely but lightly. Don't rub it in. Let it absorb naturally. Bandage optional for friction areas. Use breathable bandage. Change daily. Remove bandage at night if possible. Air helps healing process. Don't touch area after applying.
Frequency and duration
Use 2-3 times daily. After morning wash, midday, before bed. Continue for 3-5 days. Stop when redness disappears. Quit immediately if rash appears. Don't exceed one week total. Overuse causes bacterial resistance. Set phone reminders. Track applications. Missing doses reduces protection significantly.
Do | Don't |
|---|---|
Clean hands first | Touch with dirty fingers |
Thin layer only | Glob it on thick |
2-3x daily | Apply once and forget |
Use cotton swab | Apply direct from tube |
Stop after 5 days | Continue for weeks |
Check for reactions | Ignore rash or itching |
Apply after cleaning | Apply on dirty skin |
Store at room temp | Leave in hot car |
- Kills bacteria before infection starts
- Prevents painful abscess formation
- Speeds up natural healing process
- Reduces risk of permanent scarring
- Keeps area moist for better recovery
- Forms protective barrier against dirt
- Calms inflammation and redness
Redness spreading beyond half inch? Pain increasing instead of decreasing? Yellow pus forming? Warmth radiating from spot? Red streaks up leg or arm? Stop using ointment. See doctor immediately. These are infection warning signs. Allergic reaction like rash, itching, swelling? Switch to plain petroleum jelly. More on cyst care here.
See a doctor for deep, painful, or recurring ingrown hairs
Warning signs that need medical attention
Red streaks spreading from bump. Fever or chills. Severe pain that wakes you up. Swelling larger than a dime. Pus that smells bad or is green. No improvement after seven days of home treatment. Ingrown returns in exact same spot three times. Dark purple or black discoloration. Diabetes or immune system issues. Hair buried too deep to ever surface. These situations need professional intervention. Waiting makes it worse.
Medical treatments available
Doctor makes tiny sterile incision. Drains infected fluid. Removes hair with special tools. Injects corticosteroid to reduce inflammation. Prescribes oral antibiotics for infection. For chronic cases: laser hair removal stops recurrence permanently. Works on any body area. Requires multiple sessions. Costs more upfront but saves money long-term. Insurance may cover if medically necessary. Get referral from primary care.
Cost and timing
Office visit: $75-$200 with insurance copay. Without insurance: $150-$400. Incision and drainage: $100-$500 additional. Laser hair removal: $200-$500 per session. Needs 6-8 sessions total. Budget $1500-$3000 for complete treatment. Payment plans available. Tax deductible if doctor certifies medical necessity. Results last years. Stops cycle of constant ingrowns.
See doctor now | Try home care first |
|---|---|
Red streaks | Small red bump |
Fever present | No fever |
Pain 8/10 or higher | Pain 3-4/10 |
Swelling spreading | Localized bump |
Diabetes/immune issues | Healthy immune system |
Recurring same spot | First time occurrence |
No change after 7 days | Improvement in 2-3 days |
- Prevents dangerous infections
- Stops permanent scarring
- Breaks cycle of recurrence
- Provides immediate pain relief
- Offers long-term solutions
- Identifies underlying skin conditions
- Saves money on failed home treatments
Prepare for appointment: list all treatments tried, take photos of progression, note pain levels, bring medication list. Ask about laser prevention options. Cyst removal details here. Chronic sufferers should consider full hair removal plan. One treatment stops years of problems.