Table of Contents
Ingrown hair removal GIFs teach proper extraction technique through visual loops showing sterilization, 45-degree needle angles, and skin stretching methods.
Safe DIY requires antibacterial prep, sterile tools, and knowing when to stop if bleeding exceeds a pinpoint or pain spikes sharply.
Professional options like laser hair removal and cortisone injections eliminate root causes rather than treating single symptoms.
Daily chemical exfoliation and proper shaving technique prevent formation entirely.
Question | Answer |
|---|---|
What do ingrown hair removal GIFs demonstrate? | They show proper sterilization steps, needle insertion angles, and skin stretching techniques through repeatable visual loops. |
When should you stop DIY extraction attempts? | Stop immediately if bleeding exceeds a pinpoint droplet, pain becomes sharp, or the hair remains invisible after skin stretching. |
What professional treatments work better than manual extraction? | Laser hair removal and cortisone injections eliminate biological causes rather than reacting to individual symptoms. |
How do you prevent ingrown hairs from forming? | Daily chemical exfoliation with glycolic acid and shaving with the grain using sharp single-blade razors stops hairs from trapping beneath skin. |
How ingrown hair removal GIFs demonstrate proper technique and tool sterilization.
Ingrown hair removal GIFs break down complex extraction motions into repeatable loops you can study before touching your skin.
Quality visual guides start with tool prep.
You see tweezers getting wiped with alcohol pads.
You watch hands wash with antibacterial soap for twenty seconds.
This visual reinforcement beats text instructions for kinetic learners.
Looping footage reveals the exact angle to approach trapped hairs.
Most GIFs show a forty-five degree entry point beneath the hair loop.
This prevents digging straight down which causes bleeding and scarring.
What proper technique GIFs include
Visual element | Why it matters |
|---|---|
Skin stretching | Creates tension for easier extraction |
Needle positioning | Lifts the hair loop without piercing skin |
Tweezer grip | Avoids breaking the hair shaft |
Post-removal cleaning | Prevents bacterial infection |
Medical-grade GIFs display single-use lancets rather than household sewing needles.
This distinction prevents cross-contamination between extraction sites.
Some educational loops include a timer overlay showing thirty-second alcohol drying time.
Rushing this step leaves wet surfaces that breed bacteria.
Bad GIFs skip sterilization steps.
Avoid any visual guide showing fingers squeezing bumps without washing first.
These spread staph bacteria and create worse inflammation.
Check how to remove an ingrown hair you can't see for hidden bump techniques.
Professional dermatologists upload slowed-down clips showing sterile needle insertion.
These teach you to lift the hair tip above skin level before pulling.
Slow-motion segments reveal how to roll the hair out rather than yanking upward.
Never dig for the root if the hair remains buried.
See how to remove deep ingrown pubic hair for buried follicle methods.
GIFs also demonstrate when to stop.
If blood appears or the hair resists extraction you close the pores and wait.
Continuous picking shown in amateur clips causes permanent hyperpigmentation.
Proper technique sequences always end with antibiotic ointment application.
This final frame seals the micro-wound and prevents secondary infection.
Study removing ingrown hairs safely before attempting any DIY extraction.
Step-by-step visual guide to safely extracting trapped hairs at home.
Pre-extraction preparation
- Cleanse area with warm water and antibacterial soap
- Apply warm compress for 10 minutes to soften skin
- Sterilize tools with rubbing alcohol for 30 seconds
- Position bright light and magnifying mirror
The extraction sequence
Locate the hair loop or tip visible beneath the skin surface.
Stretch skin taut with fingers on either side of the bump.
Insert sterilized needle parallel to skin surface to lift the hair end.
Grasp exposed hair with pointed tweezers.
Pull gently in direction of natural hair growth.
Do not pluck against the grain.
Step | Visual cue | Common mistake |
|---|---|---|
1. Locate | Dark loop under surface | Digging at whitehead instead |
2. Lift | Needle slides under hair | Piercing straight down |
3. Extract | Hair slides out smoothly | Yanking or twisting |
4. Clean | Apply antibiotic ointment | Leaving open wound |
If the hair does not release after two attempts stop immediately.
See how to remove a ingrown hair in pubic area for sensitive zone techniques.
Post-extraction care:
- Apply cortisone cream to reduce inflammation
- Avoid tight clothing for 24 hours
- Skip deodorant or fragrances on treated area
- Monitor for spreading redness or pus
Deep buried hairs require different approach.
Check how to remove deep ingrown pubic hair before attempting extraction on cyst-like bumps.
Never use unsterilized sewing needles or dirty fingernails.
These introduce bacteria that convert simple ingrowns into abscesses requiring surgical drainage.
Critical warning signs that indicate you should stop DIY removal attempts.
Physical signals during extraction
Bleeding that exceeds a pinpoint droplet means you punctured a blood vessel.
Stop immediately and apply pressure with sterile gauze for ten minutes.
Pain sharp enough to make you flinch indicates nerve involvement or deep tissue damage.
If the hair remains invisible after skin stretching abandon the attempt.
Digging blind creates tunnels that harbor bacteria and cause permanent scarring.
Skin that turns white or gray during manipulation signals compromised blood flow.
Release tension immediately to prevent tissue death.
Infection indicators
Normal healing | Stop and seek care |
|---|---|
Mild pinkness for 24 hours | Spreading redness after 48 hours |
Slight tenderness | Warmth radiating from site |
Clear fluid crust | Yellow or green pus |
Flat skin texture | Hard nodule forming |
Red streaks traveling away from the bump signal lymphangitis.
This requires immediate antibiotics not home treatment.
Medical contraindications
Do not attempt DIY extraction if you take blood thinners.
Uncontrolled bleeding risk outweighs cosmetic benefit.
Diabetics lack healing capacity and infection resistance.
Immunocompromised patients require sterile clinical environments.
History of keloid formation means any skin breach risks permanent raised scars.
Stop if fever develops following extraction attempts.
Systemic infection progresses rapidly without medical intervention.
Professional treatment options that work better than manual extraction.
DIY extraction treats single symptoms.
Clinical interventions destroy the biological mechanism causing recurrence.
Permanent elimination therapies
Laser hair removal targets melanin in follicles to stop regrowth permanently.
This prevents future ingrowns rather than reacting to existing ones.
Most patients see 80% reduction after six sessions.
See will laser hair removal help with ingrown hairs for clinical outcome data.
Electrolysis inserts probes into individual follicles to destroy growth centers with electric current.
It works on all hair colors including blonde and gray that lasers miss.
Check electrolysis ingrown hair removal for FDA-approved permanent options.
Medical intervention methods
Clinical treatment | Target condition | Advantage over DIY |
|---|---|---|
Cortisone injection | Inflamed cysts | Reduces swelling in 24 hours vs weeks of pain |
Prescription retinoids | Chronic recurrence | Prevents formation vs treating after occurrence |
Sterile extraction | Deep embedded hairs | Zero infection risk with surgical sterility |
Medical-grade peels | Hyperpigmentation scars | Removes damaged layers safely |
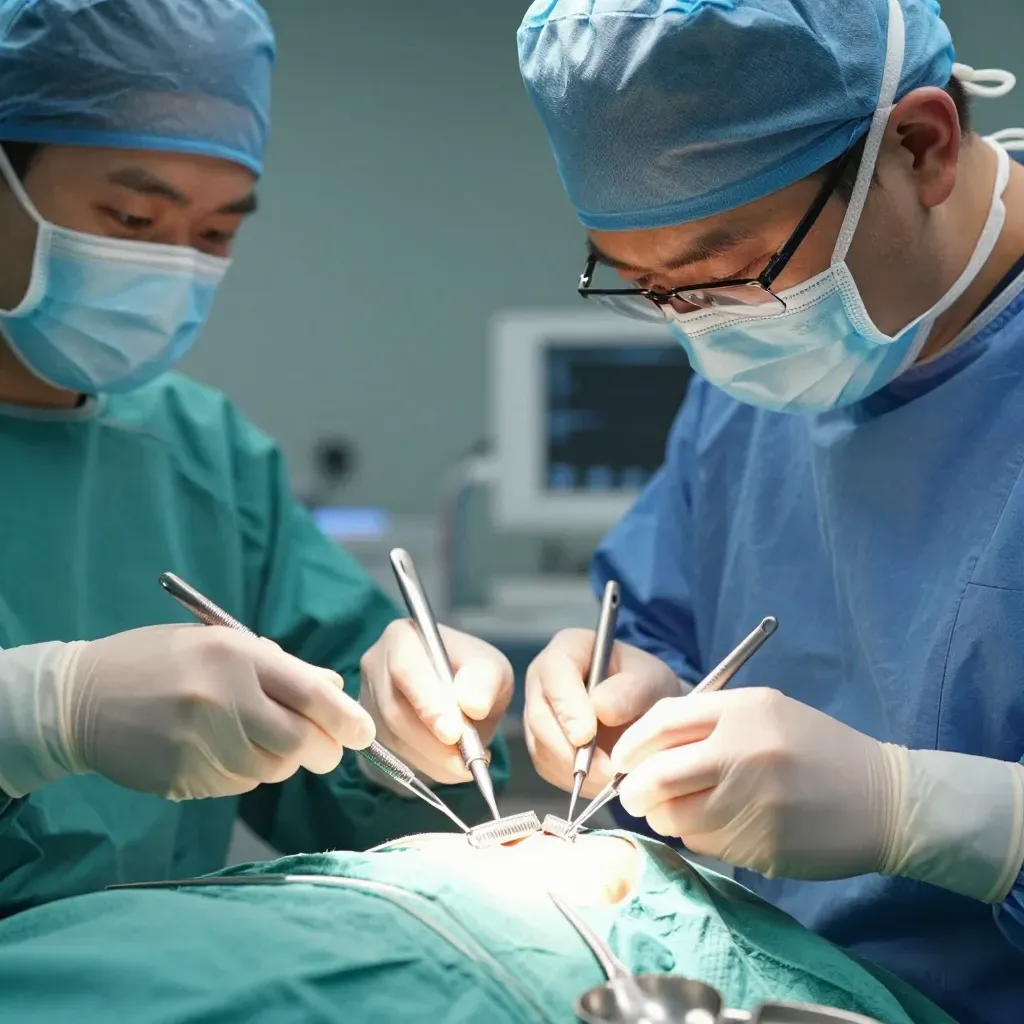
Dermatologists perform extractions under magnification with sterile surgical lancets.
They remove entire hair shafts including roots without breaking skin barriers.
Cortisone injections dissolve painful inflammatory cysts within 48 hours.
This beats weeks of painful home squeezing that often worsens the condition.
Prescription tretinoin cream increases epidermal cell turnover speed.
Hairs penetrate skin surface naturally instead of curling beneath.
Professional chemical peels use trichloroacetic or glycolic acid concentrations exceeding retail limits by 300%.
These remove stratum corneum layers that physically block emerging follicles.
Clinical extraction combined with antibiotic therapy prevents staph colonization common in DIY attempts.
Prevention strategies that eliminate the need for removal GIFs entirely.
Daily exfoliation protocols
Chemical exfoliants dissolve dead skin cells that trap emerging hairs.
Apply glycolic or salicylic acid serums to prone areas daily.
Physical scrubs with round microbeads manually clear follicle openings twice weekly.
Avoid sharp granules that create micro-tears inviting infection.
Hair removal technique modifications
Standard method | Prevention upgrade |
|---|---|
Dry shaving | Hydrate skin with warm water plus shaving gel |
Multi-blade razors | Single-blade safety razor cutting at skin level |
Against grain shaving | With-grain passes only |
Dull blades | Replace after 5-7 uses |
Electric clippers with guards leave 1-2mm hair length preventing sharp tips from piercing skin.
See brazilian laser hair removal preparation for pre-treatment hair length guidelines.
Post-removal skin care
Apply fragrance-free moisturizer within three minutes of hair removal.
Hyaluronic acid plumps skin surface reducing follicle blockage.
Wear loose cotton clothing for 24 hours post-shave.
Friction from synthetic fabrics forces new growth back into pores.
Permanent prevention
Laser hair removal eliminates the hair source entirely.
No hair means zero ingrown formation.
Check bikini laser hair removal results for permanent smooth skin outcomes.
Consistent professional waxing with proper aftercare weakens follicles over time reducing density.