Table of Contents
An ingrown hair removal needle extracts trapped hairs from under the skin using a sterile sharp tip or small hook.
Use this tool only on surface bumps with visible hair loops never on deep cysts infected areas or sensitive regions like eyes and genitals.
Sterilize the needle with alcohol or flame wash the skin apply warm compresses and lift the hair gently without digging to prevent scarring and infection.
Seek professional help immediately for facial triangle areas diabetes or if home extraction fails after two attempts.
Prevent future ingrowns by exfoliating twice weekly shaving with the grain using single-blade razors and wearing loose cotton clothing.
Question | Answer |
|---|---|
What is an ingrown hair removal needle? | It is a sterile metal tool featuring a sharp pointed tip or small hook that lifts trapped hairs from under the skin surface. |
When should I use this extraction tool? | Use it only on surface-level bumps with visible hair loops or tips never on deep painful cysts red inflamed skin or areas near eyes and genitals. |
How do I sterilize the needle before use? | Submerge the tool in ninety percent isopropyl alcohol for five minutes or flame-sterilize until the tip glows red then allow complete cooling. |
What are the main risks of DIY extraction? | Non-sterile tools introduce bacteria causing painful abscesses while digging too deep creates permanent scars and improper technique leaves hair fragments trapped under skin. |
When must I see a professional instead? | Seek immediate medical help for deep cystic bumps facial triangle areas genital regions diabetes or if home attempts fail after two tries. |
What is an ingrown hair removal needle and when to use one
An ingrown hair removal needle lifts trapped hairs from under the skin. This sterile metal tool features a sharp pointed tip or small hook that pierces the surface layer above the hair loop. Unlike regular sewing needles, professional extraction tools minimize tissue damage and reduce scarring risk when used correctly.
When to use this tool
Use this tool only on visible surface bumps where you can see the hair loop or tip beneath thin skin. Wait until the area shows a clear raised bump with dark spot or visible hair coil. Never dig into deep painful cysts or red inflamed skin.
- Surface-level ingrown hairs with visible hair tips
- Healed bumps without active infection
- Shallow trapped hairs in beard area, legs, or bikini line
- Pre-existing condition cleared by dermatologist
- Hairs trapped by dead skin layers only
When to avoid self-extraction
- Area shows pus, significant redness, or warmth
- Deep painful nodules under skin surface
- You have diabetes, poor circulation, or compromised immune system
- Bump located near eyes or genitals
- Keloid scarring history exists
Tool types compared
Tool Type | Best For | Risk Level |
|---|---|---|
Sharp lancet | Piercing thin skin over hair | Medium |
Loop extractor | Lifting coiled hairs without breaking skin | Low |
Tweezers + needle combo | Grabbing exposed tip after lifting | Low |
Professional comedone extractor | Multiple ingrown hairs, blackheads | Low |
Sterilize the needle with rubbing alcohol or flame before and after each use. Single-use disposable lancets reduce infection risk compared to reusable stainless tools. Store clean tools in dry sealed container away from bathroom humidity.
Step-by-step guide to safely extracting ingrown hairs at home
Prepare area and tools
- Wash the bump and surrounding skin with antibacterial soap. Remove all surface oils and bacteria that could enter the opening.
- Apply warm compress for ten to fifteen minutes. This softens the epidermis and brings the hair closer to the surface for easier extraction.
- Sterilize your ingrown hair removal needle completely. Submerge in ninety percent isopropyl alcohol for five minutes or flame-sterilize until the tip glows red. Allow full cooling before skin contact to avoid burns.
- Scrub hands with soap for thirty seconds minimum under warm water. Wear disposable nitrile gloves to prevent bacterial transfer from fingertips to open skin.
Extract the hair
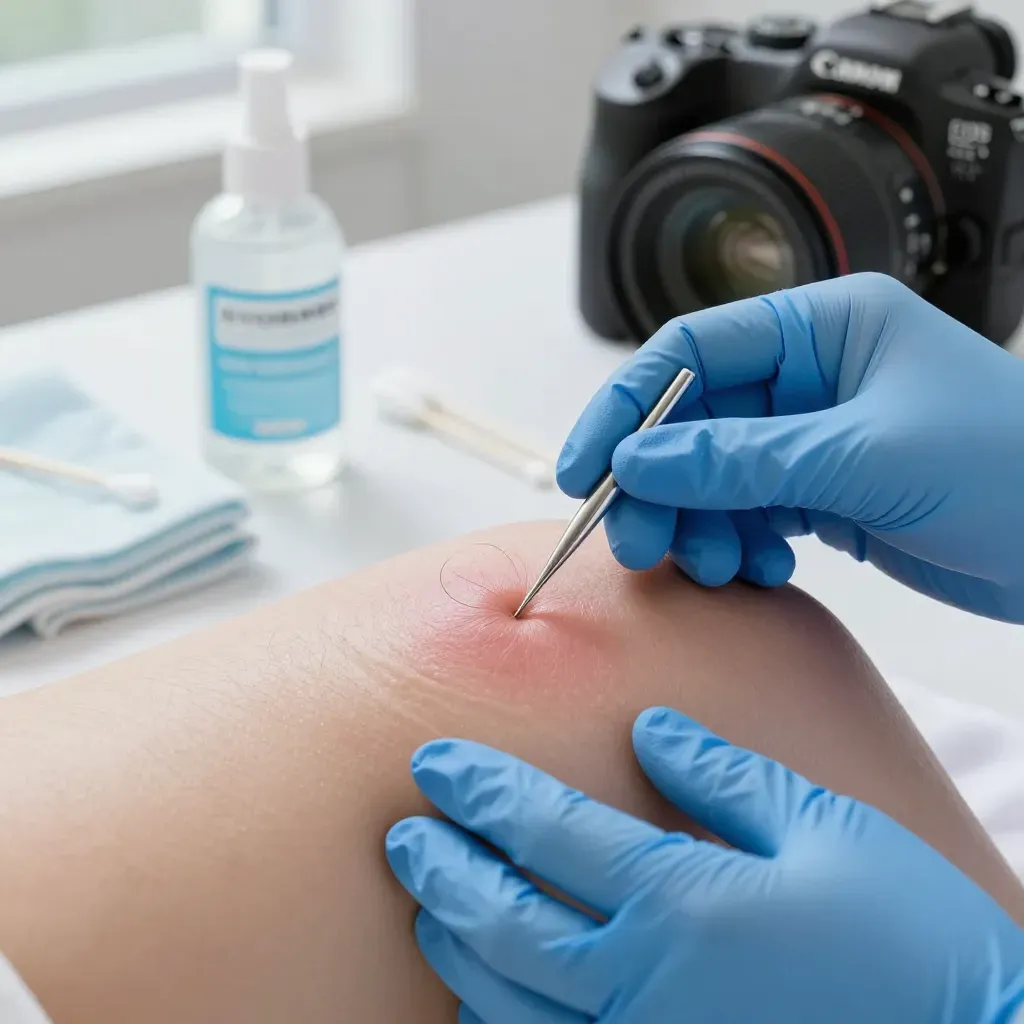
- Position the needle parallel to skin surface. Pierce only the thin layer directly above the visible hair loop without penetrating deep tissue.
- Gently tease the hair upward using the needle tip. Lift the loop until the tip breaks through the skin surface. Do not excavate or dig into surrounding tissue.
- Switch to sterilized pointed tweezers. Grip the exposed shaft close to the skin entry point for maximum control.
- Pull steadily in direction of natural growth. Remove the entire hair in one smooth motion without twisting or yanking.
- If resistance occurs stop immediately. Reapply warm compress five minutes then attempt once more. Abort if still stuck. Deep digging creates permanent scars and introduces infection risk.
Post-extraction care
- Cleanse the opened pore with alcohol wipe or antiseptic solution. Remove any blood or debris to prevent bacterial colonization.
- Apply thin layer of over-the-counter antibiotic ointment. Cover with breathable bandage if clothing rubs the area to prevent irritation.
- Avoid all hair removal methods for two days minimum. No shaving waxing or depilatory creams on treated skin to allow healing.
- Monitor closely for infection signs. Increasing redness warmth or swelling after twenty-four hours indicates bacterial infection. See a doctor promptly for oral antibiotics if needed.
Essential sterilization techniques to prevent infection
Tool sterilization methods
Submerge the ingrown hair removal needle in ninety percent isopropyl alcohol for five full minutes. This kills surface bacteria and viruses effectively.
Flame sterilization works for metal tools. Heat the tip with a lighter until it glows red. Cool completely before touching skin to avoid burns.
Boil stainless steel tools in water for twenty minutes if alcohol is unavailable. Dry thoroughly immediately to prevent rust formation.
Single-use lancets eliminate cross-contamination risks entirely. Dispose in a sharps container after one use.
Method | Time Required | Effectiveness |
|---|---|---|
Isopropyl alcohol 90% | 5 minutes | High |
Flame sterilization | 10 seconds heat + cooling | High |
Boiling water | 20 minutes | Medium |
UV sterilizer | 30 minutes | Medium |
Skin and surface preparation
- Scrub the target area with chlorhexidine or antibacterial soap. Remove all dirt, oil, and dead skin cells.
- Wipe the work surface with disinfectant wipes. Lay down a clean paper towel as a sterile field.
- Wash hands for thirty seconds minimum under warm water. Use a nail brush to clean under fingernails.
- Wear disposable nitrile gloves. Latex alternatives exist for allergy sufferers.
Storage and maintenance
- Store clean tools in a sealed plastic case or sterile pouch. Keep away from bathroom humidity which breeds bacteria.
- Replace reusable tools every three months or immediately if dropped. Dropped needles pick up floor bacteria even after cleaning.
- Never share extraction tools between people. Bloodborne pathogens transfer through microscopic skin breaks.
Risks to avoid and when to seek professional help
Common extraction risks
Breaking skin with non-sterile tools introduces staph and strep bacteria. These pathogens cause painful abscesses requiring oral or intravenous antibiotic treatment and potential surgical drainage procedures.
Digging too deep damages collagen structures and creates permanent pitted scars or raised keloid formations. Individuals with darker skin tones face significantly higher risks of post-inflammatory hyperpigmentation that persists for months after the initial trauma.
Improper extraction angle tears the hair shaft below skin level. This leaves sharp fragments trapped under the epidermis that worsen local inflammation and trigger immediate new ingrown formation in the same follicle.
Infection warning signs
Monitor the treated area continuously for these specific infection indicators that demand immediate medical attention:
- Red streaks spreading from the bump indicating lymphangitis
- Warmth and throbbing pain increasing after twenty-four hours
- Yellow or green pus drainage from the extraction site
- Fever or swollen lymph nodes in nearby regions
- Area doubles in size or becomes hard and indurated
When to seek professional help
Situation | Why See a Pro |
|---|---|
Deep cystic bump | Requires surgical incision and drainage |
Facial triangle area | High blood flow risks brain infection |
Genital region | Delicate tissue prone to scarring |
Diabetes or immunosuppression | Delayed healing and sepsis risk |
Recurring same spot | May need laser hair removal or prescription creams |
See a dermatologist immediately if home attempts fail after two tries. Persistent ingrowns often indicate underlying pseudofolliculitis barbae, bacterial folliculitis, or fungal infection requiring prescription creams or oral medications. Professional extraction using sterile lancets and surgical magnification prevents complications that worsen with repeated DIY attempts.
Prevention strategies to reduce future ingrown hairs
Exfoliation routine
- Remove dead skin cells twice weekly using chemical exfoliants containing salicylic acid or glycolic acid. These dissolve protein bonds that trap hairs under skin without abrasive scrubbing.
- Physical scrubs work for tougher areas like legs and arms. Choose synthetic beads over crushed nut shells which create micro-cuts and worsen inflammation.
Shaving technique
- Shave with the grain never against. Use a sharp single-blade razor. Multi-blade systems cut hair below skin level increasing ingrown risk.
- Apply shaving gel and let sit two minutes. This softens the hair shaft and reduces tugging that creates angled tips.
- Rinse blade after every stroke. Build-up forces hair back into follicles. Replace cartridges every five to seven shaves maximum.
Prevention Method | Frequency | Best For |
|---|---|---|
Chemical exfoliant | 2x weekly | Face, sensitive areas |
Single-blade razor | Replace every 5-7 shaves | Beard, bikini line |
Loose cotton clothing | Daily | Freshly shaved skin |
Depilatory cream | As needed | Coarse body hair |
Clothing and friction
- Wear loose cotton underwear immediately after hair removal. Synthetic fabrics trap heat and sweat against fresh follicles creating bacterial growth environments.
- Avoid tight jeans or leggings for twenty-four hours post-shave. Friction from compression garments pushes new growth back into skin before it clears the surface.
Professional alternatives
- Visit an aesthetician for ingrown hair removal if home methods fail. They perform extractions with sterile lancets and high-magnification lamps.
- Consider professional bikini line treatments for chronic issues. Laser targets the follicle itself and stops the cycle permanently.
- Waxing pulls hair from the root. Ensure technicians use hard wax for coarse areas not strip wax which breaks hair mid-shaft and leaves sharp tips.